How to Install ViewGrip Extension on Chrome
- 28 Jan 24
Introduction:
The Worker feature on ViewGrip requires you to install the official extension to get started. In this guide, we will provide a comprehensive step-by-step tutorial on how to manually install Chrome extensions, ensuring a seamless experience.
Important!
Before we dive into the installation process, it's essential to note that you should uninstall any previous versions of the ViewGrip extension before installing the new one. Once you've done that, follow the steps below to seamlessly install the ViewGrip extension on your Chrome browser.
Step 1: Download & Extract the Zip File
Download:Extension v.2.1.3.
Extract the Zip File: To begin the process, you need to extract the extension files from a zip file. You can use software like WinRAR for this task. Follow these steps:
- Locate the zip file containing the extension you want to install.
- Right-click on the zip file and select "Extract to [Folder Name]."
- A new folder will be created with the same name as the zip file, containing the extension's files.
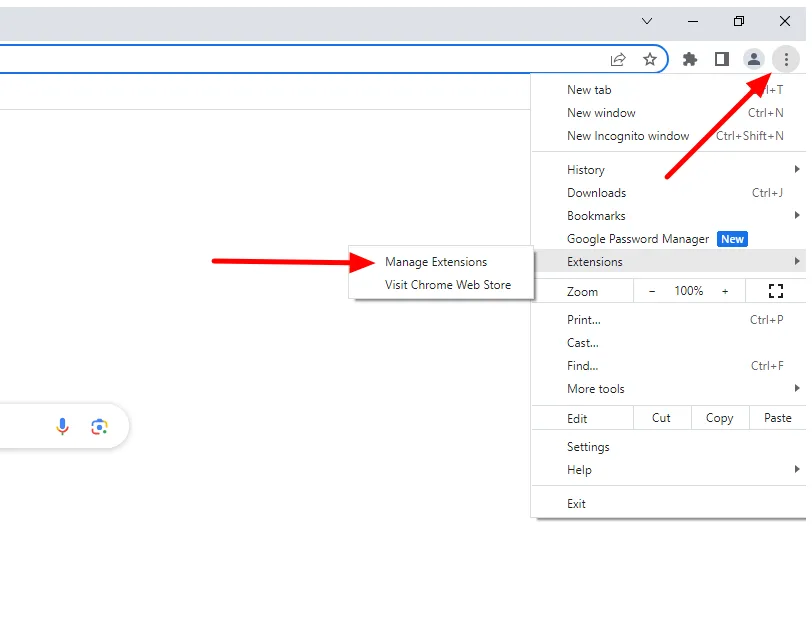
Step 2: Open Chrome's Extension Management
- Click on the ⋮ (three vertical dots) icon in the top-right corner of the browser window. This will open a dropdown menu.
- Navigate to "Extensions" and select "Manage Extensions."
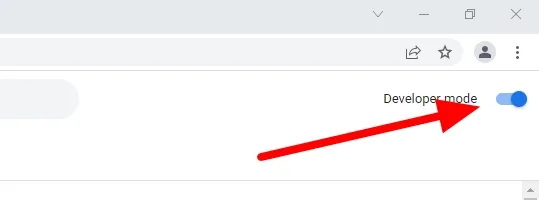
Step 3: Enable Developer Mode
In the Extensions page, you'll need to enable Developer Mode. Here's how:
- In the Extensions page, look for the "Developer mode" checkbox in the upper-right corner.
- Enable Developer Mode by clicking the toggle switch next to it.
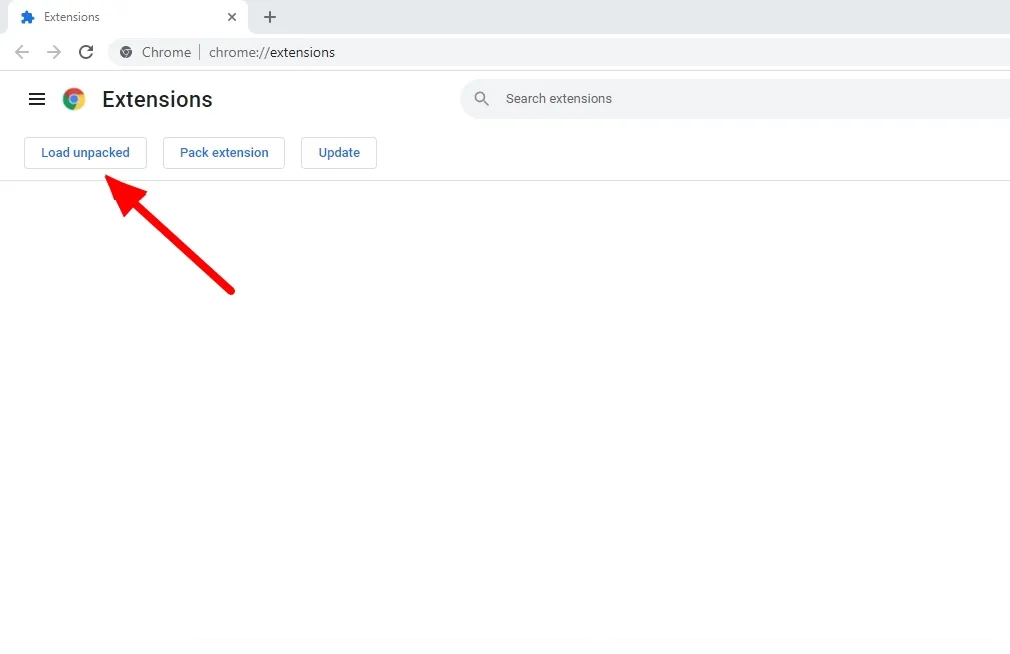
Step 4: Load the Unpacked Extension
After enabling Developer Mode, a few new options will appear. Locate the "Load unpacked" button and click on it.
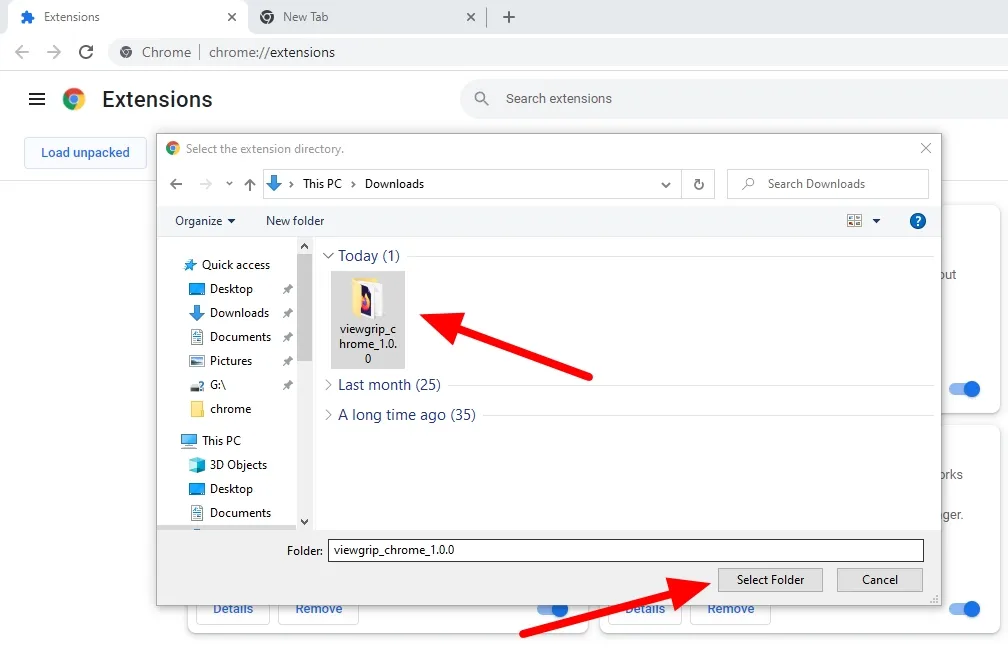
Step 5: Choose extension folder
A file dialog box will open, allowing you to select the folder where you extracted the extension files. Choose the folder and click "Select Folder."
Step 6: Show the icon on the menu bar
To make it easier to use the extension, you can display the extension icon in the menu bar, follow the tutorial below:

Start running the worker
The installation process is complete. Now, you can return to the worker page, and with a simple click of the "Launch Worker" button, you can initiate the worker and effortlessly earn coins automatically without any limitations. learn more How to start using the worker.
Related content
How ViewGrip Works
How to Create a Campaign: A Step-by-Step Guide
How to start using the worker feature to get unlimited coins